What you will learn:
- How to clone a Godot project for QNX.
- How to install the Godot templates on a QNX target.
- How to launch a Godot game using the command line.
Prerequisites:
- A host machine (Linux, macOS, or Windows) with
gitinstalled. - A target running QNX Developer Desktop (QEMU VM, Raspberry Pi 4, or Raspberry Pi 5).
- Network connectivity between the host and the target.
Because this specific project is set up for cross-compilation environments, we will first clone it on your development host and then package it for the target.
- Clone the repository:
git clone https://github.com/yulee-qnx/pong-qdd/ - Zip the project: Navigate to the directory and compress the folder to make transferring it easier.
zip -r pong-qdd.zip pong-qdd
You need to move the project file from your host to the QNX Developer Desktop.
- Find your Target IP: On your QNX terminal, run:
ifconfig - Secure Copy (SCP) the file: From your host machine, run (replace the IP with your target's actual IP):
scp pong-qdd.zip qnxuser@192.168.122.242:/data/home/qnxuser - Unzip on the Target: Switch back to your QNX target terminal and run:
unzip pong-qdd.zip
The Godot engine is available via the QNX Open Source Ports. Ensure your target has internet access to fetch the packages.
- Search for available templates:
sudo apk search godot-templates - Install the templates:
sudo apk add godot-templates
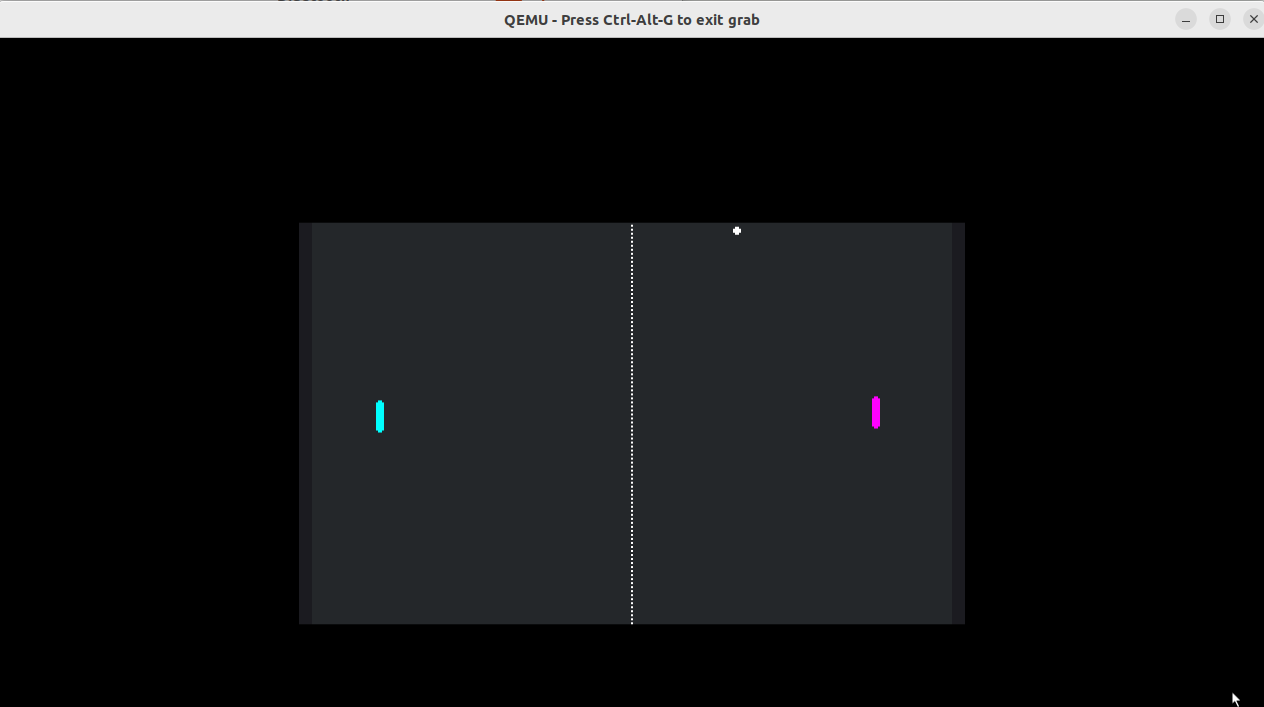
Now that the engine is installed and the project files are present, you can launch the game using the rendering driver compatible with QNX Screen.
- Run the Godot binary: From the QNX terminal, execute:
godot-template-release --path pong-qdd --rendering-driver opengl3_es
Game Controls
- Player 1:
W(Up),S(Down) - Player 2:
Up Arrow(Up),Down Arrow(Down) - Exit:
ESC(Initiates a proper shutdown sequence)
When developing with Godot on QNX, keep the following in mind:
Feature | Support Level | Note |
Windowing | QNX Screen | Wayland is not currently supported for this port. |
2D Graphics | High | Excellent for HMI and UI visualizations. |
3D Graphics | Basic | Optimized assets required; avoid heavy GPU effects. |
Audio | Functional | Best supported on Raspberry Pi 4/5 environments. |
You have successfully deployed a Godot game to QNX! This workflow opens the door for high-quality graphical interfaces and visualizations on a hard real-time operating system.
Next Steps:
- Explore the source code in the
pong-qddfolder. - Try modifying the physics logic and re-running the game on your target.